Contents
- Introduction
- Onigiri through the Ages: From Nobles' Gifts to Railway Snacks
- Filling, Tasty, & Aesthetically Pleasing: The Ultimate Japanese Treat
- Easy Onigiri Recipe: Making Authentic Onigiri the Japanese Way
White rice
Nori
The filling
Seasoning
Rinse the rice thoroughly
Soak the rice
Cook the rice
Fluff the rice
Wet your hands
Shape the rice
Form the onigiri
Wrap with nori
Enjoy - About the Writer
Introduction
The sight of those beautiful white, triangle-shaped rice treats called onigiri (おにぎり), perfectly wrapped in deep, blackened olive seaweed, can instantly warm the hearts of any Japanese and make their mouths water – and for good reason.
Keep reading to discover more about these renowned rice balls in Japan and why they hold the top spot as a favorite food in the country. The best part is that you'll also learn step-by-step how to make authentic Japanese onigiri at home, along with getting all the ingredients straight from Japan!
Onigiri through the Ages: From Nobles' Gifts to Railway Snacks
Onigiri (おにぎり) gets its name from the Japanese word "nigiru," which means "to squeeze" or "to grasp." This is because the Japanese hand-press the rice to form it into a ball. Onigiri is commonly referred to as omusubi, and it has also been known as nigirimeshi. These alternative names for onigiri describe rice snacks that are hand-pressed into shapes and are easy to handle and eat.
Onigiri traces its roots back to the Heian Period (794–1185) when a food known as "Ton-jiki" existed. This food was made by shaping brown rice into a firm egg-like form and was then given to domestic servants as a gesture of gratitude during events hosted by noble or imperial households. During the Kamakura period (1192–1333), these rice balls served as a military ration.
Onigiri gained immense popularity during the Edo period (1603–1867) and became a widely available food enjoyed by all. By 1885, it became among the first foods officially approved for sale on Japan's very first railway line.
Filling, Tasty, & Aesthetically Pleasing: The Ultimate Japanese Treat
When it comes to the ultimate comfort food that never fails to fill empty stomachs, onigiri takes the crown in Japan. They’re typically made of rice shaped into a ball or cone, often with a flavorful filling, and wrapped in nori ((海苔, seaweed). The traditional fillings of meat or vegetables in onigiri bring a burst of taste and texture to the already delicious rice.
Similar to sandwiches, which make for a quick grab-and-go snack, onigiri is easily portable and widely available in supermarkets and convenience stores all over Japan.
These filling, tasty, and aesthetically pleasing rice treats aren't just for a quick and easy snack - they also make a delightful addition to a bento lunchbox, a perfect breakfast option, or a must-have on any picnic. Their portability makes them a perfect savory snack that's sure to fill your belly and warm your heart!
Easy Onigiri Recipe: Making Authentic Onigiri the Japanese Way
What makes these rice balls even more loved is that practically everyone can make them with just a few ingredients that are commonly available in Japanese households. Here are the three basic ingredients you need to get started...
- White rice, particularly short- or medium-grain varieties like Japanese rice such as Kokuho Rose Rice or Koshihikari ( コシヒカリ,) is commonly used for making both onigiri and sushi. Using brown rice for making onigiri can be a bit challenging because it lacks the stickiness of white rice, which may result in a less defined and perfect onigiri shape.

- Nori is a type of dried, flat edible seaweed widely used in many Japanese foods and recipes, such as onigiri and sushi. To ensure you get the full authentic experience of onigiri, you can easily order nori directly from its country of origin.
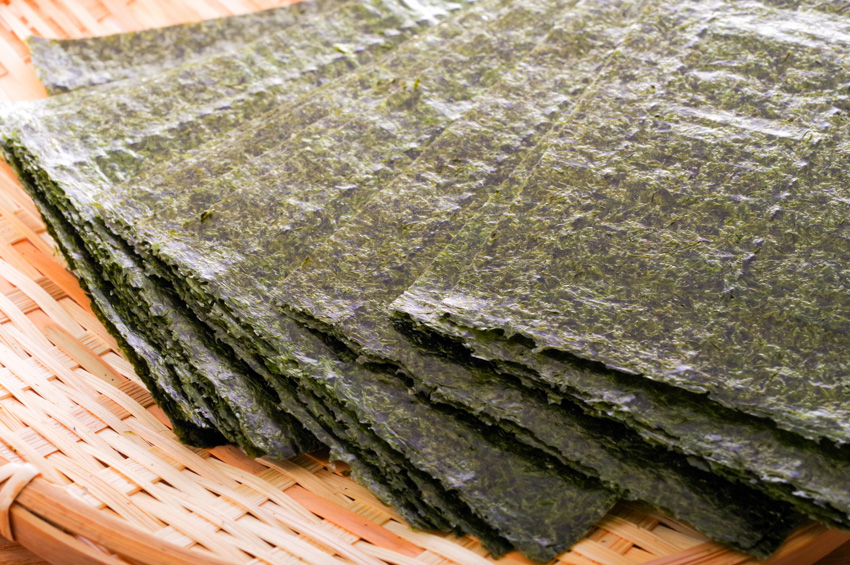
Nori, dried seaweed, is used to wrap onigiri.
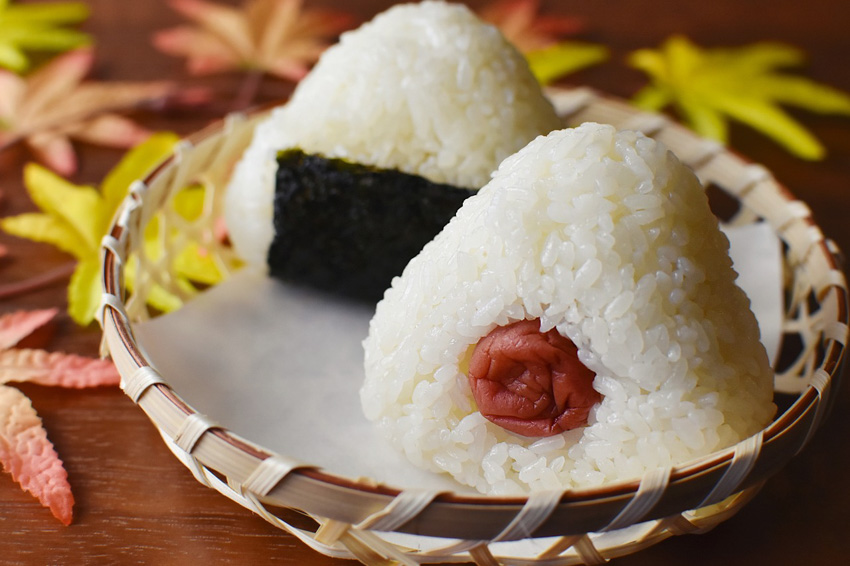
- The filling is all up to you: go the Japanese way with options like tuna mayo, umeboshi (pickled plum), or tsukudani (small pieces of seaweed, seafood, or meat simmered in soy sauce and mirin). Alternatively, you can let your culinary imagination run wild and make your own onigiri masterpiece - that's the true essence and beauty of onigiri!
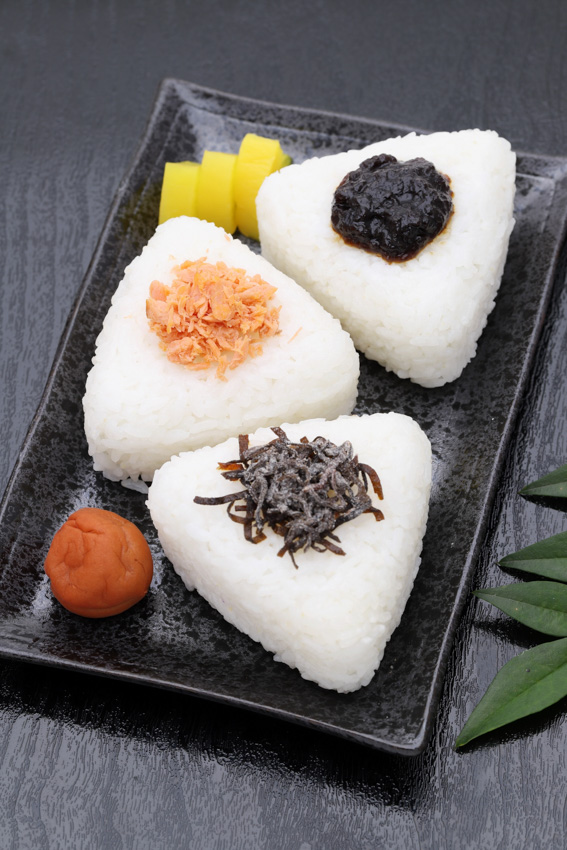
Onigiri being with (from bottom) kombu, salmon, tsukudani. Lower left is an umeboshi (pickled plum).
- Seasoning (optional) like Gomashio (black sesame salt), Katsuo Fumi (bonito flakes with seaweed and spices), or Ume Goma Shio (plum sesame salt), or even rice seasoning like okaka (bonito flake) can be used to add more flavor to the rice.
All set with the ingredients? Here are the simple steps to get your onigiri ready:
1. Rinse the rice thoroughly: Wash the rice under cold water until the water runs clear to remove excess starch.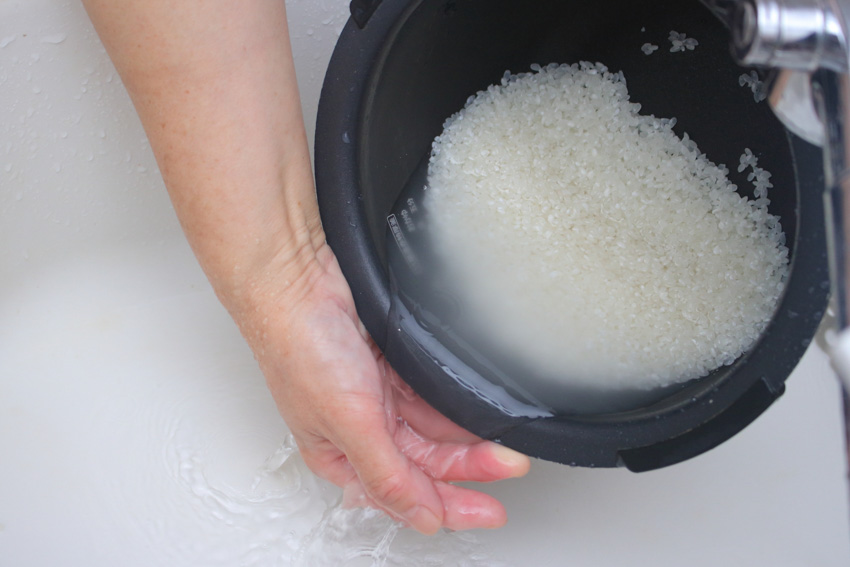
⇓
2 . Soak the rice: Place the rinsed rice in a bowl and add water to soak for about 30 minutes. This helps the rice cook evenly.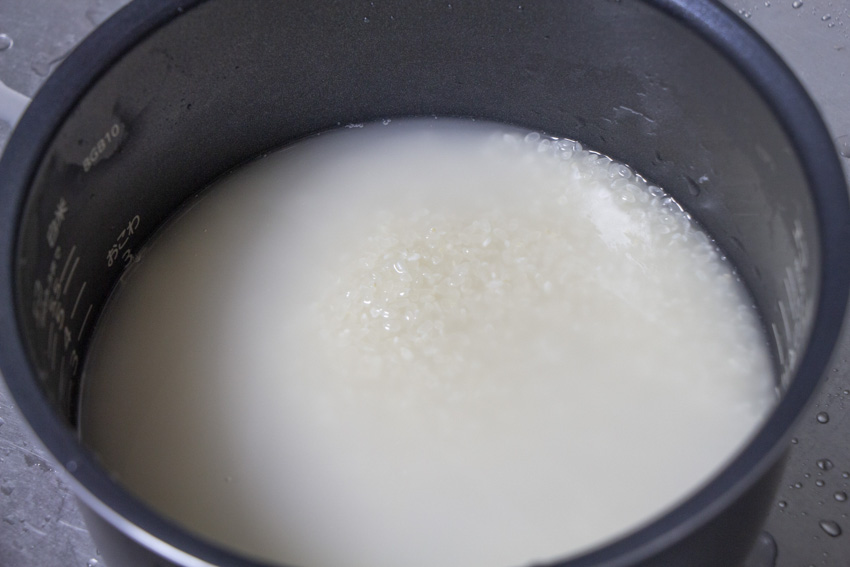
⇓
3. Cook the rice: Combine equal amounts of rice and water in a pot. Bring it to a boil over medium-high heat, then lower the heat to medium-low and cover. Let it simmer for 8 to 12 minutes with the lid on. Turn of the heat and let the rice rest as is with the lid on so the rice can soak up the steam still inside the pot.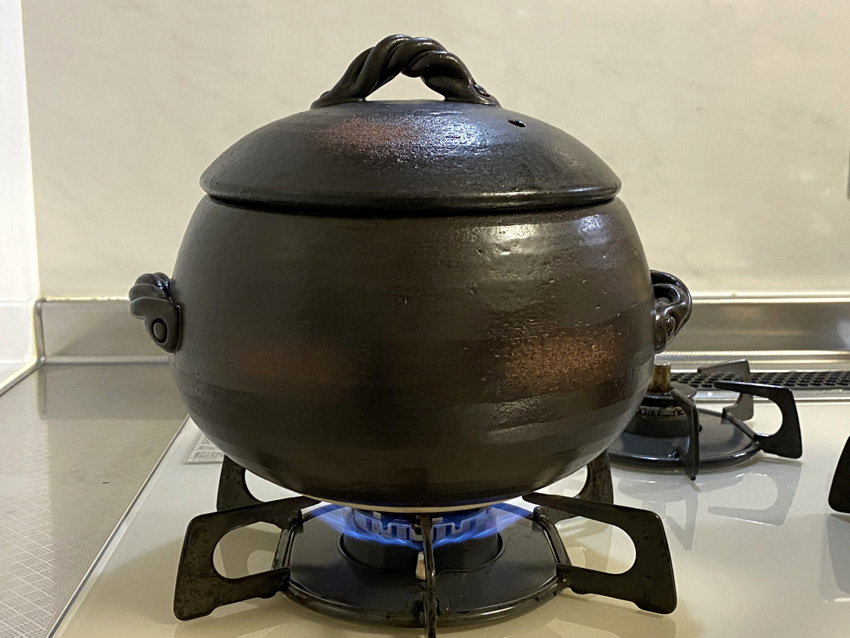
⇓
4. Fluff the rice: Once the rice is cooked and rested, fluff it with a fork and leave it for about 10 minutes until it cools down a bit but is still warm enough to shape it smoothly.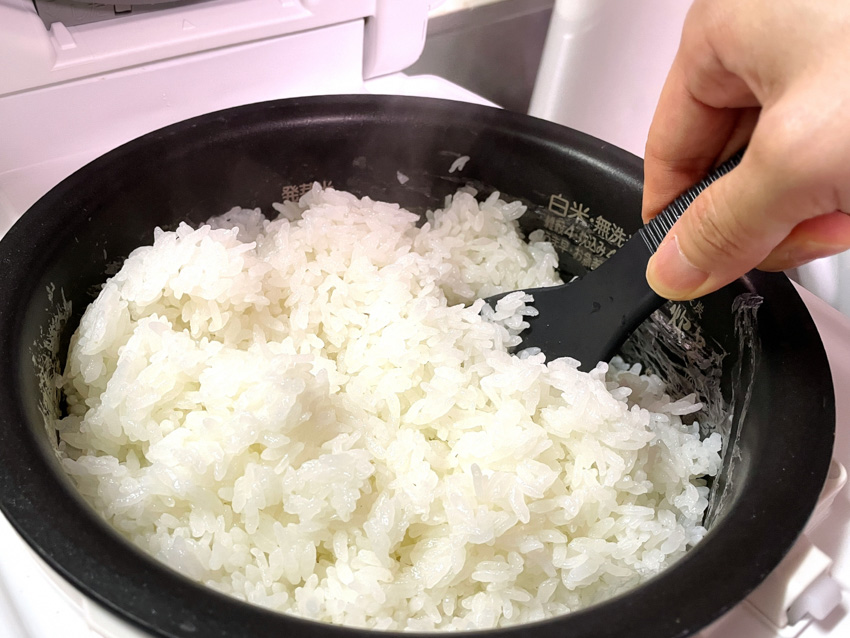
⇓
5. Wet your hands: Dip your hands in water and then in salt to prevent the rice from sticking to your hands.
⇓
6. Shape the rice: Take a portion of rice in your hands and make an indent in the middle with your fingers.
Place your chosen filling in the dent and pinch the rice around the edges to close it up.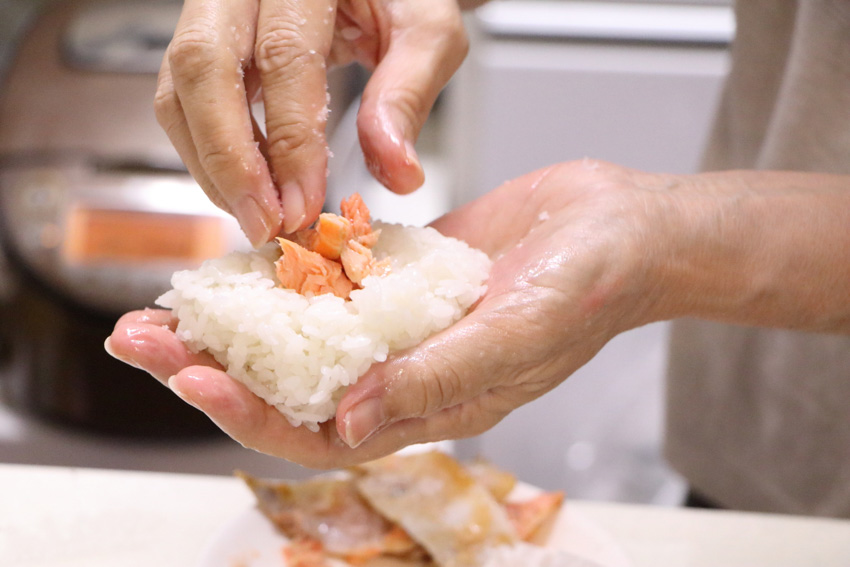
⇓
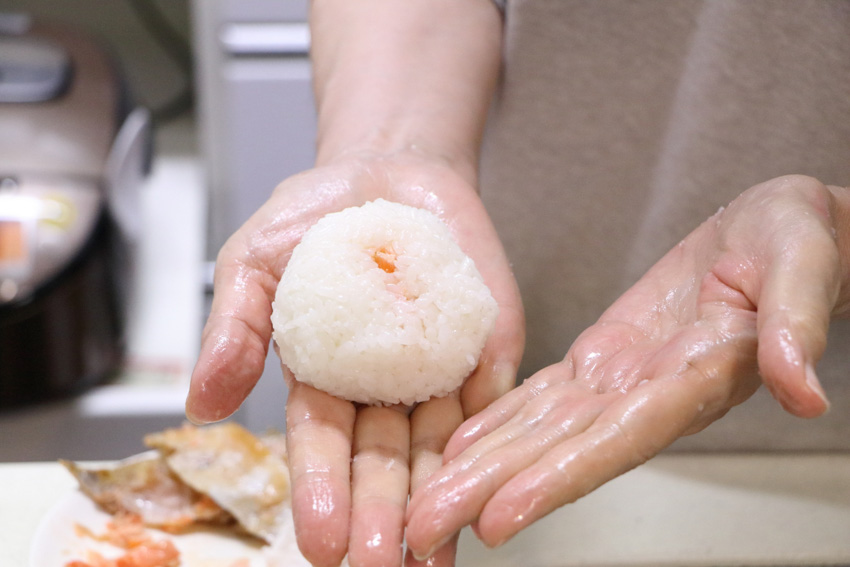
6. Form the onigiri: Using mainly your fingertips while resting the rice on your palm, start to press and squeeze the rice into a triangular shape, rotating as you go to make it even. The traditional triangle shape is an option, but feel free to explore ball-shaped or cylinder-shaped onigiri too. Haven't developed your rice molding skills yet or just feeling lazy about shaping onigiri? No worries! Just grab yourself some onigiri molds specially designed to perfectly shape your onigiri without you lifting a finger!
⇓
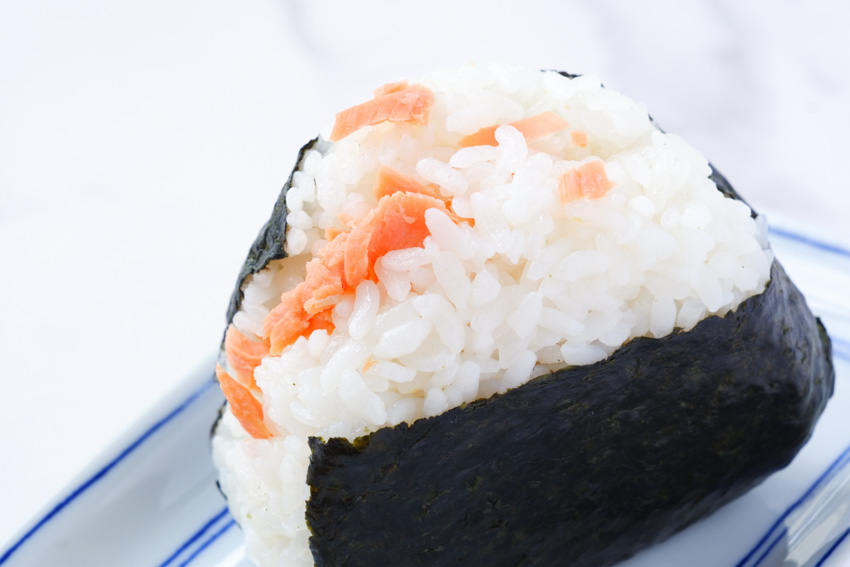
7. Wrap with nori: Wrap the onigiri with a piece of nori seaweed, leaving one portion of the rice visible, and moisten the nori to seal it.
⇓
8. Enjoy: Your delicious homemade onigiri is now ready to be enjoyed! Serve it as a snack, lunch, or a tasty addition to any meal.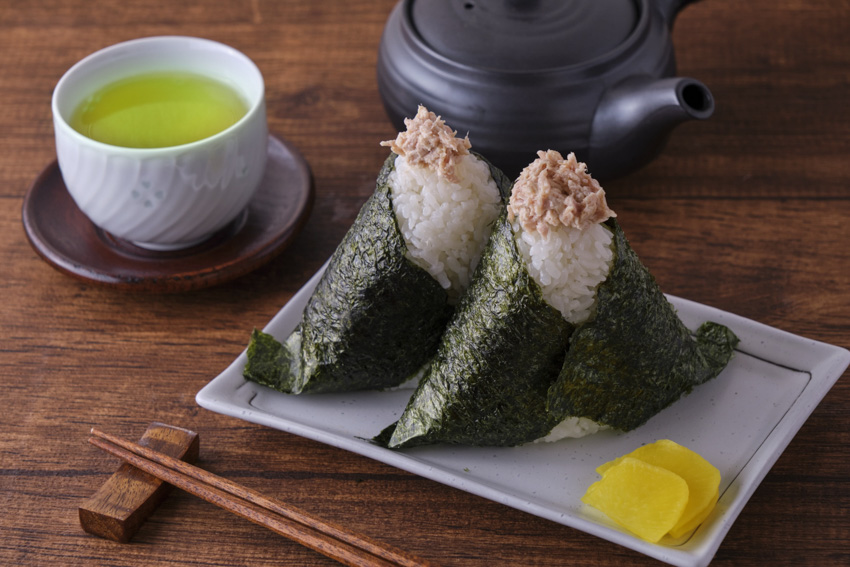
That was easy, right? But you know what's even easier than a simple onigiri recipe? Getting authentic onigiri ingredients straight from Japan to your doorstep, all thanks to the e-commerce platform ZenPlus. The platform has a mission of connecting global customers with Japanese online retailers, ensuring they can easily get those hard-to-find Japanese products with just a few clicks. Now, you can fully enjoy your hearty onigiri experience to the fullest!
About the Writer
Meet Mariam - a freelance writer with a lifelong love for cooking, beauty, and Anime, starting from the tender age of six. Now, with boundless creativity and determination, she aims to deliver the most valuable content for readers to offer them a glimpse into her passions in life.